Taming a monolith while simultaneously enabling flexible, multi-version deployments might seem like a daunting challenge. Yet, for companies managing complex, critical systems like Clover, which handles everything from payments and inventory to online sales and customer loyalty, such a capability is essential for ensuring customer stability and agile feature rollouts. This presentation, led by Dilpreet Singh and Anirudh Ramesh, unveils Clover's journey in transforming their monolithic "Clover Operating System" deployment strategy into a dynamic, "rainbow" model.
This article delves into how Clover leveraged HAProxy Fusion Control Plane to move beyond traditional blue-green deployments, embracing a multi-color approach that pins specific customers to desired versions and facilitates hotfixes or experimental features with unprecedented ease. You will learn about the architectural decisions, the integration with Nomad and Consul for dynamic backend management, and the crucial role HAProxy's weight-based routing plays in managing incremental traffic shifts. A detailed demonstration highlights the practical application of this innovative deployment strategy and its tangible benefits.
By reading this article, you will gain insights into how to containerize and manage a large monolith effectively, implement advanced traffic routing with HAProxy Fusion Control Plane, and achieve significant improvements in release confidence and operational flexibility. Discover how Clover achieves zero on-call pages and zero drama in their applications, all while continuously delivering value to their diverse customer base.
Slide Deck
Here you can view the slides used in this presentation if you’d like a quick overview of what was shown during the talk.


Dilpreet Singh
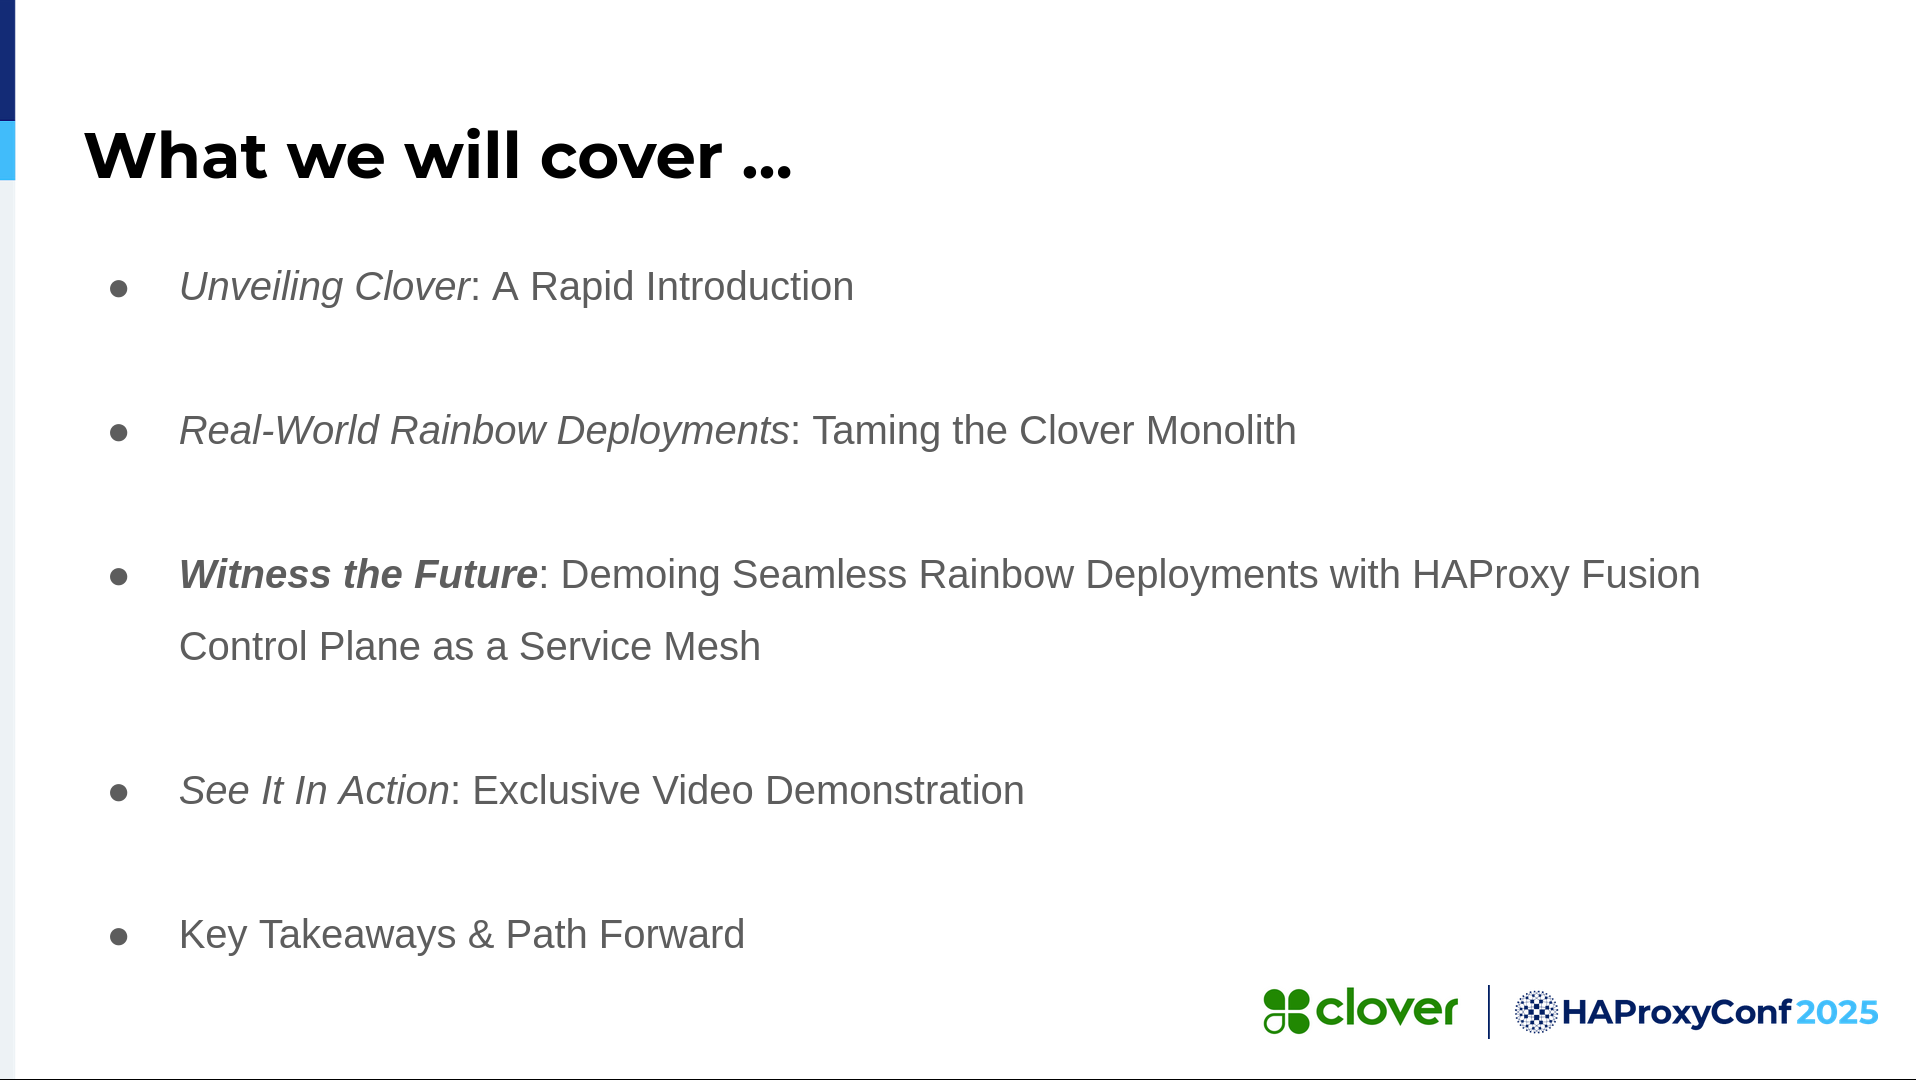
In this presentation, we will first introduce Clover. We will then walk through a real-world "rainbow deployment" problem, which helped us manage our monolith, the Clover Operating System.
We will also demonstrate how we tackled the deployment of our monolith. This demo will show how we used the HAProxy Fusion Control Plane as a service mesh.
Finally, we will share some takeaways from this experience and discuss the path forward.

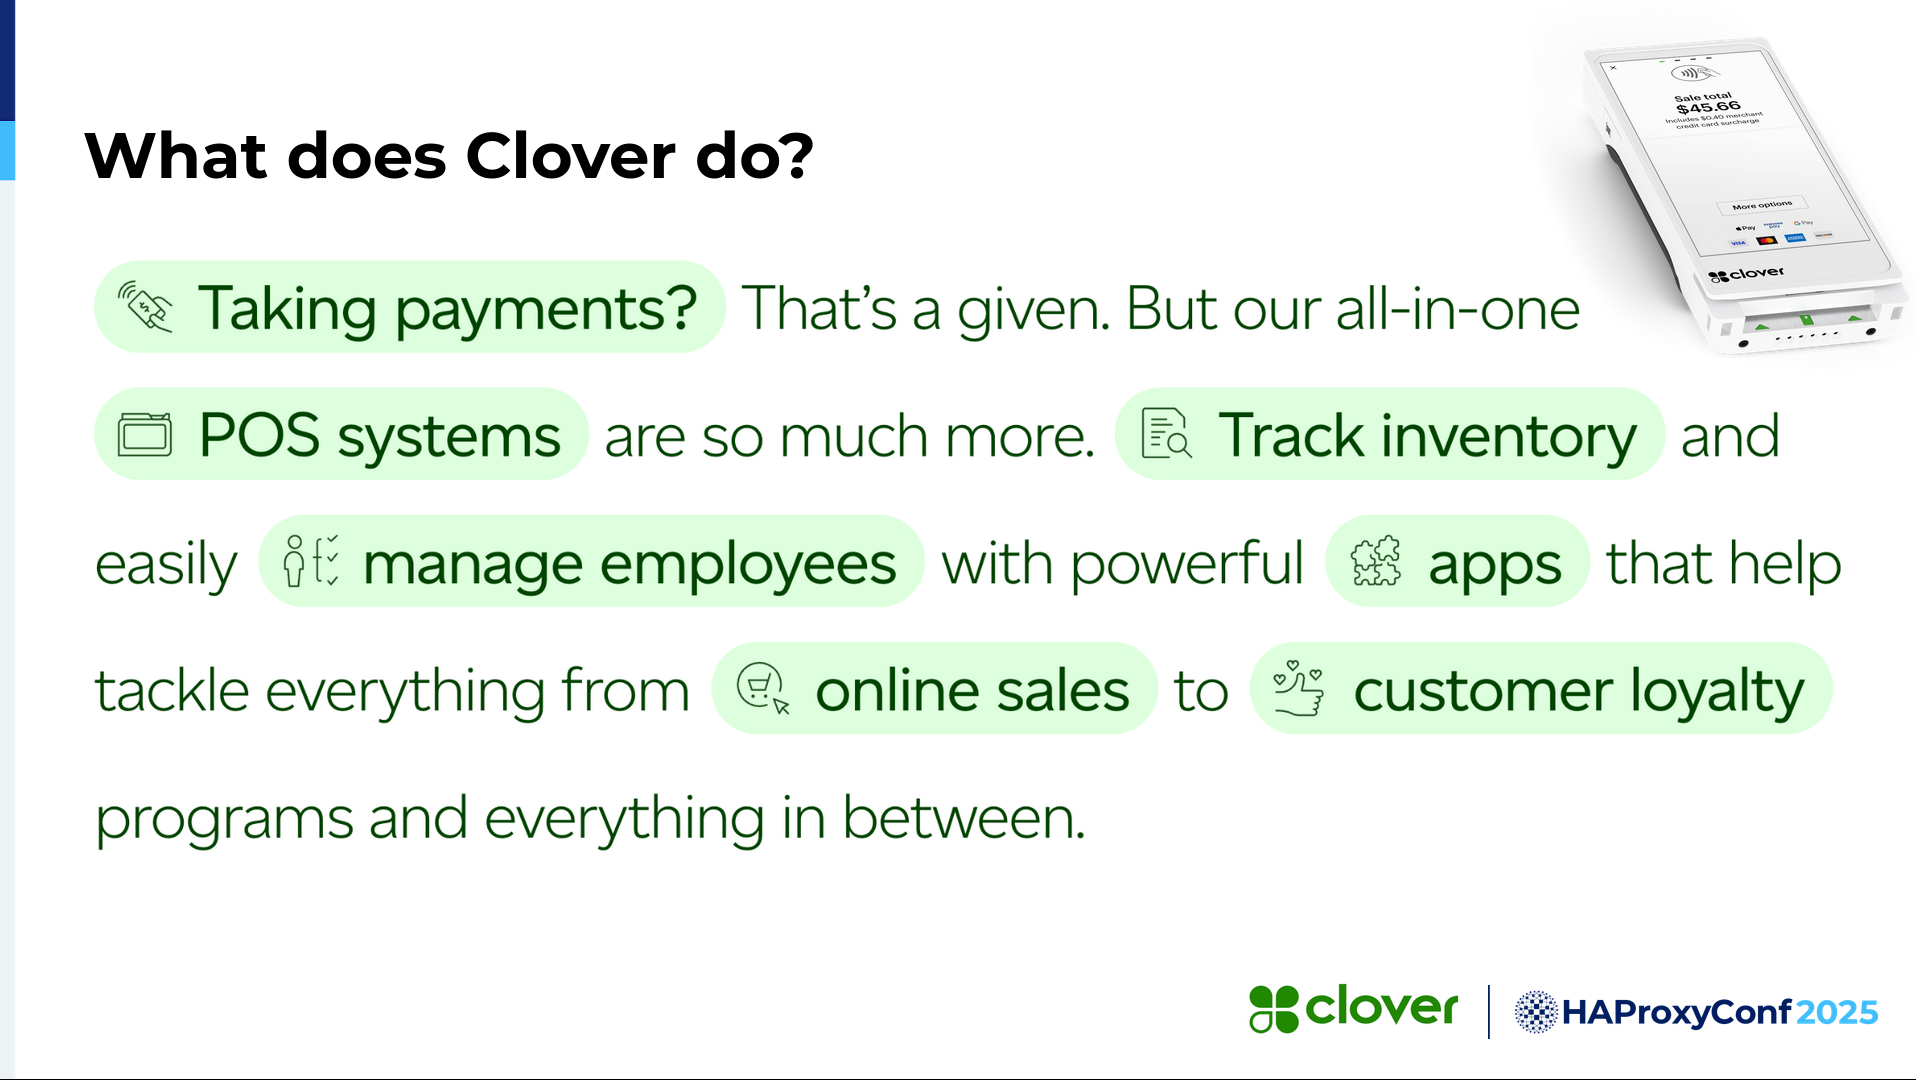
So what does Clover do?
We don't just take payments. We track inventory. We also manage employees with powerful apps. We tackle everything related to online sales, customer loyalty programs, and much more.
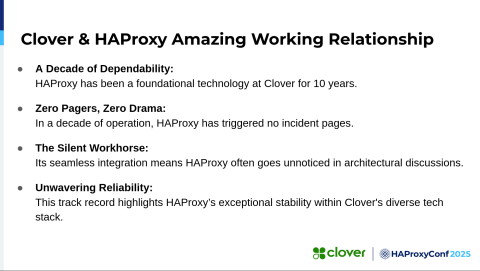
Clover and HAProxy. We've had an amazing working relationship with HAProxy for the past 10 years. One thing we love about them is zero on-call pages, zero drama. And trust me, at Clover, we don't want any drama in our applications.
HAProxy has been a silent workhorse for us. Its seamless integration often goes unnoticed when we're talking about technologies, but we know that part of our application is already covered because we have HAProxy with us. And its reliability is well known, of course

What's the use case here? As I mentioned, we have a huge monolith, which we call the Clover Operating System. We also took on the task of figuring out how to containerize that. This whole journey has been about that.
We went beyond blue-green deployments or just canary deployments to think about it as "as many colors as we want". So we can go on from blue, green, red, yellow—whatever we need for our use cases.
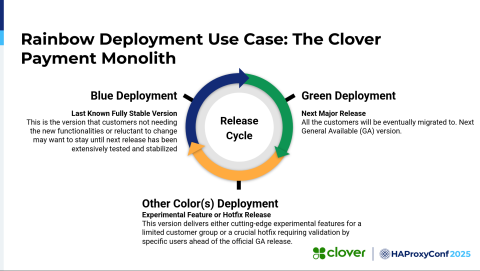
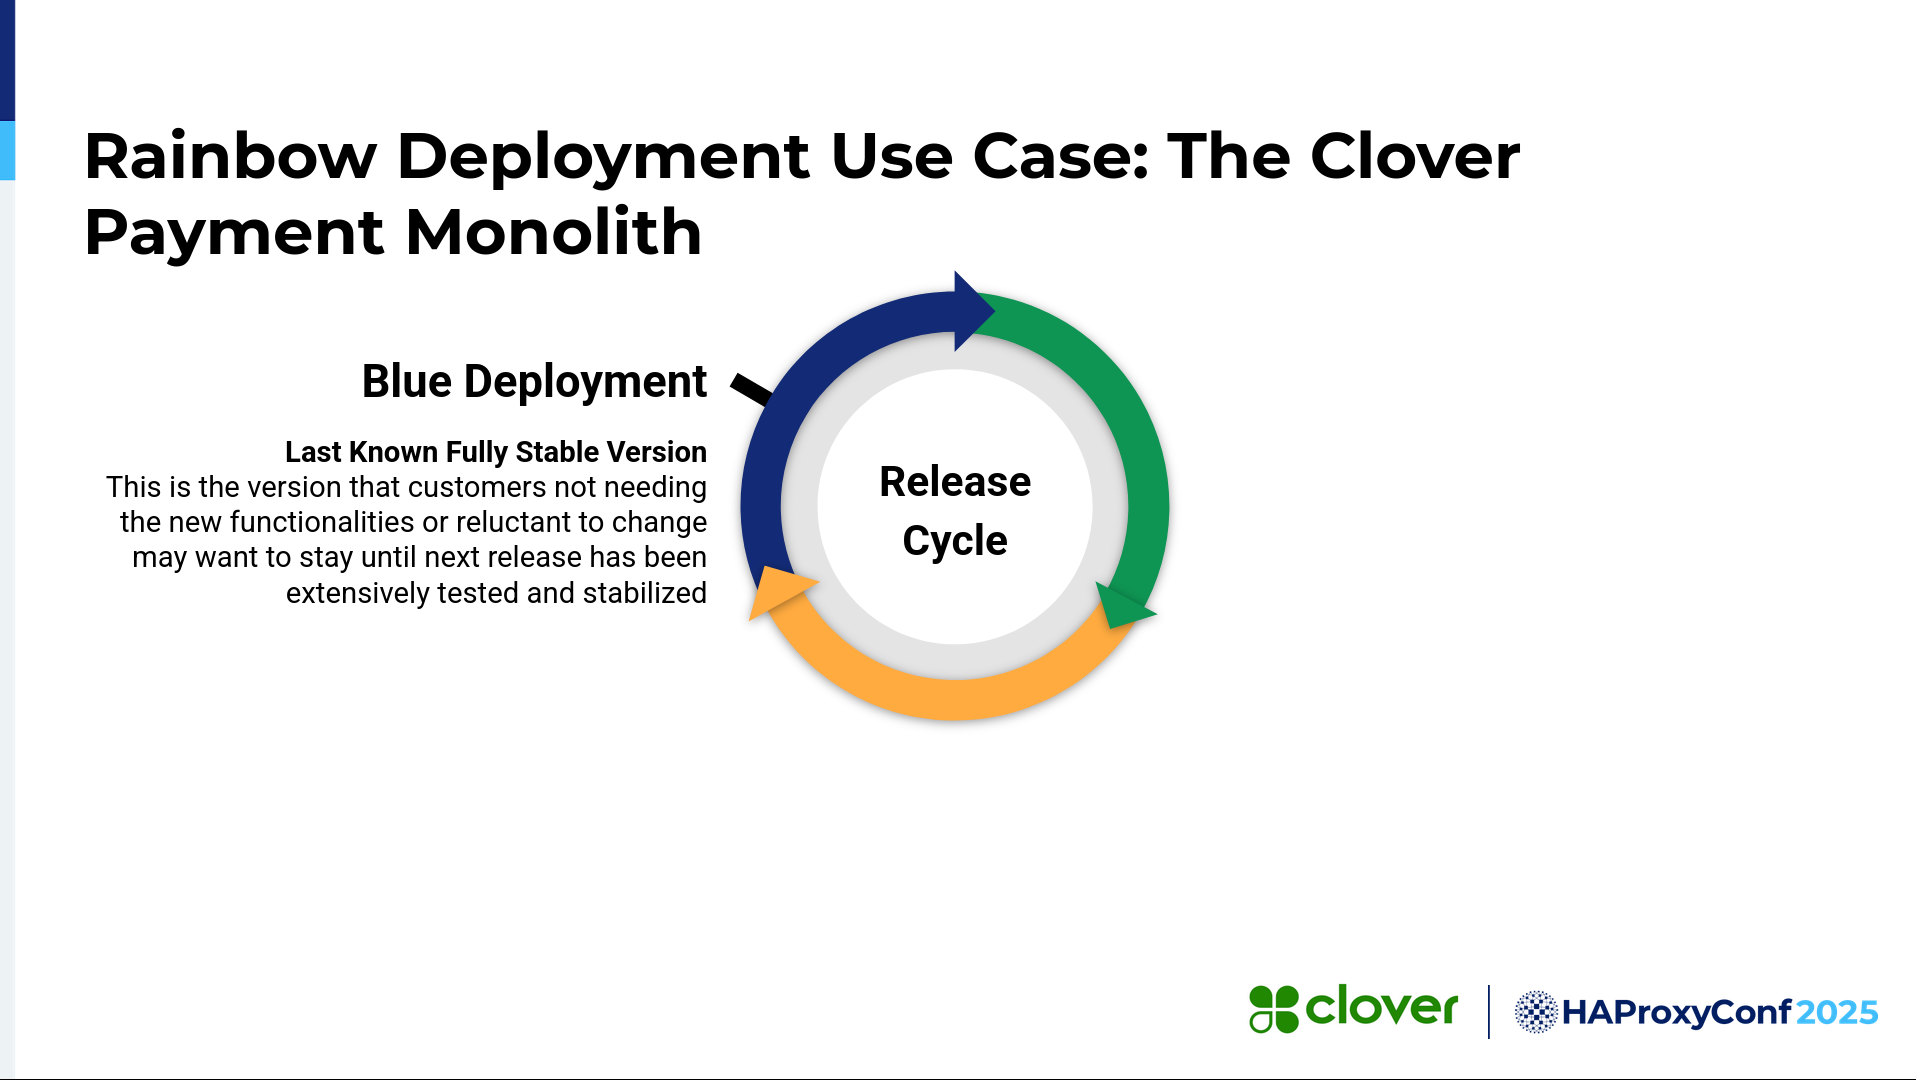
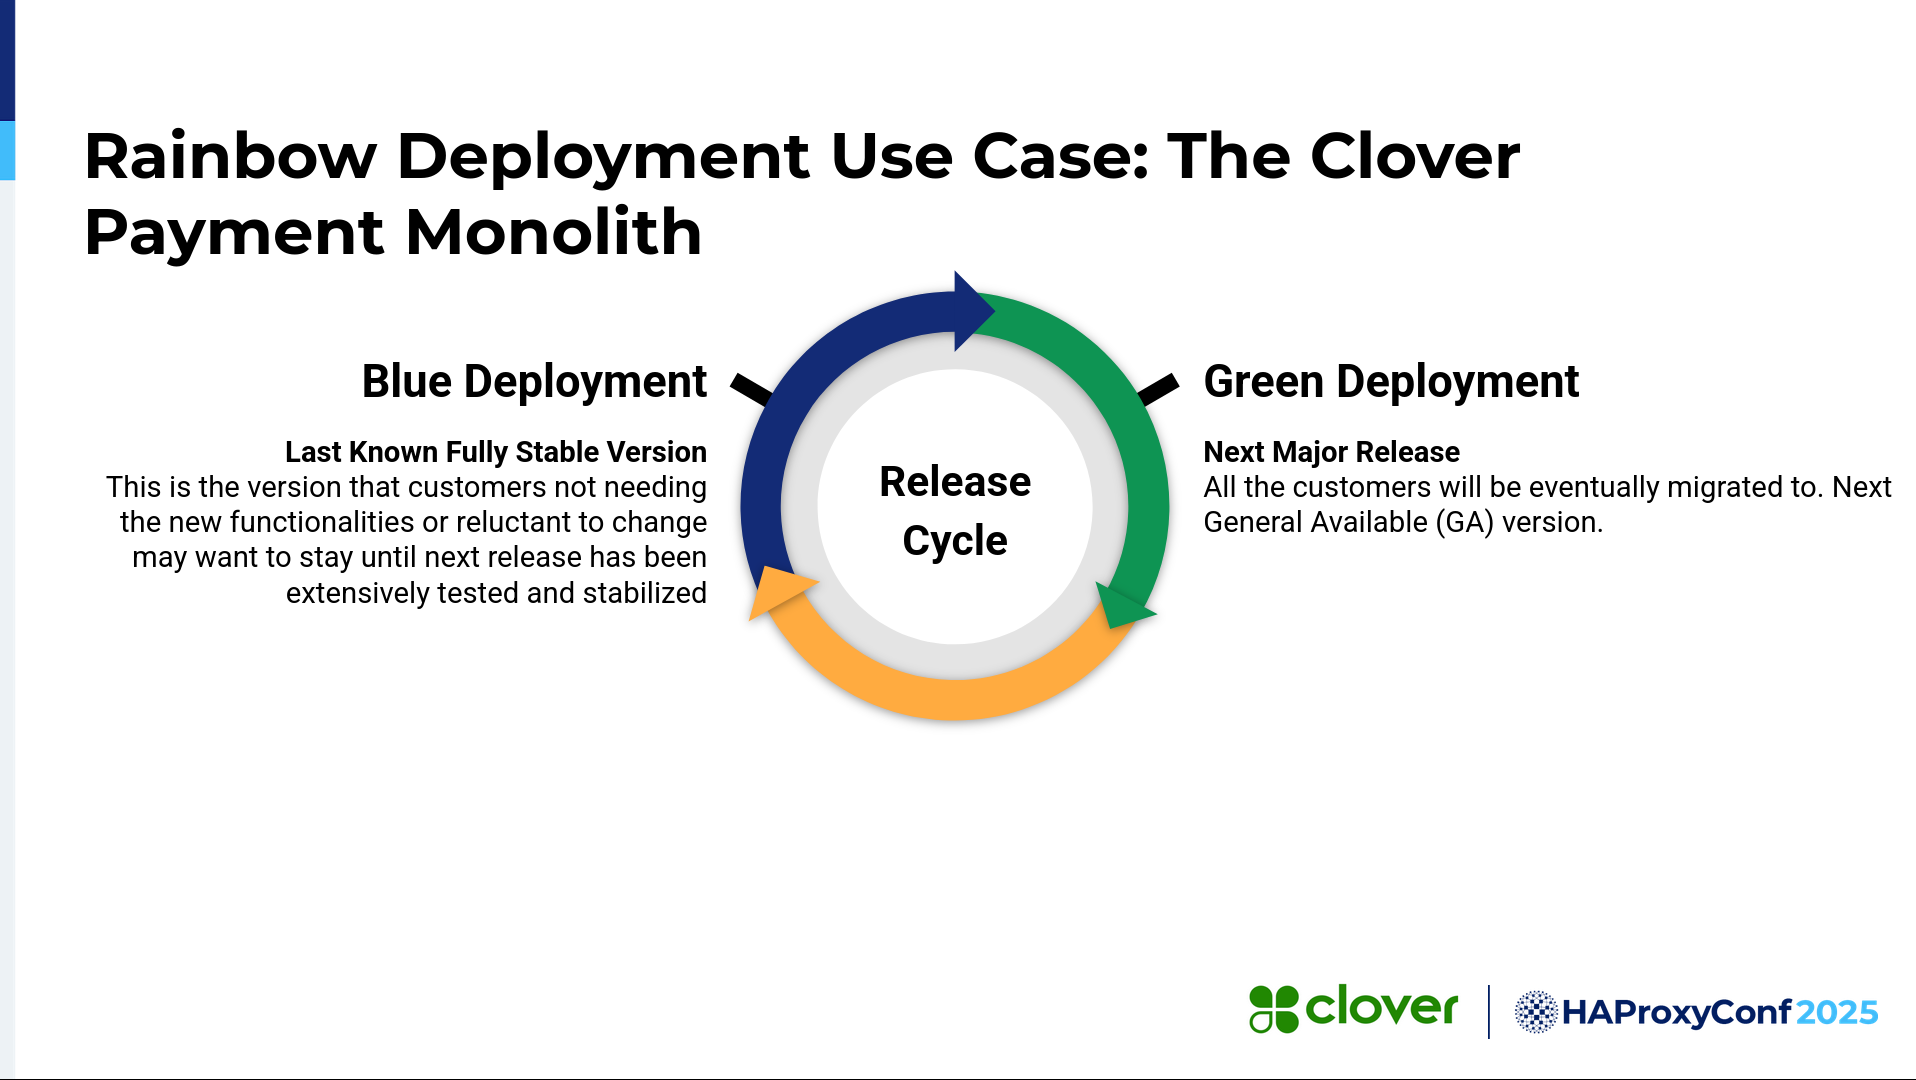
I think most of you are aware of traditional blue-green deployments. As you all know, a blue deployment is the latest, most stable version of an application currently deployed and being used by all the customers. Then we have a green deployment, which is the candidate for the next major release and to which all the customers will eventually be migrated.
We had a specific use case where we wanted to pin specific customers to specific versions or add functionality just for those customers. But we deal with very traditional banks that are very careful about moving to a new version or changing their version. So we sometimes have to pin them to a specific, previous version.
We came up with this idea: Why don't we add more colors to it, like blue, green, red, and so forth? Then we could pin some of our customers to a specific version, and they wouldn't need to worry about any changes that we're making in our application going forward. Then, we'd create other color deployments for hotfixes or experimental features that we want to add to our application.
HAProxy helps us with this through its weight-based routing. Imagine bringing in a new release, adding a new weight, let's say 20% to start with, and then increasing it, and so on, until it reaches 100. Or we can keep it at 50/50 or whatever we want.
It helps us with SSL termination, it brings in security, and it helps us with the speed of our monolith. It also gives us service mesh agility.

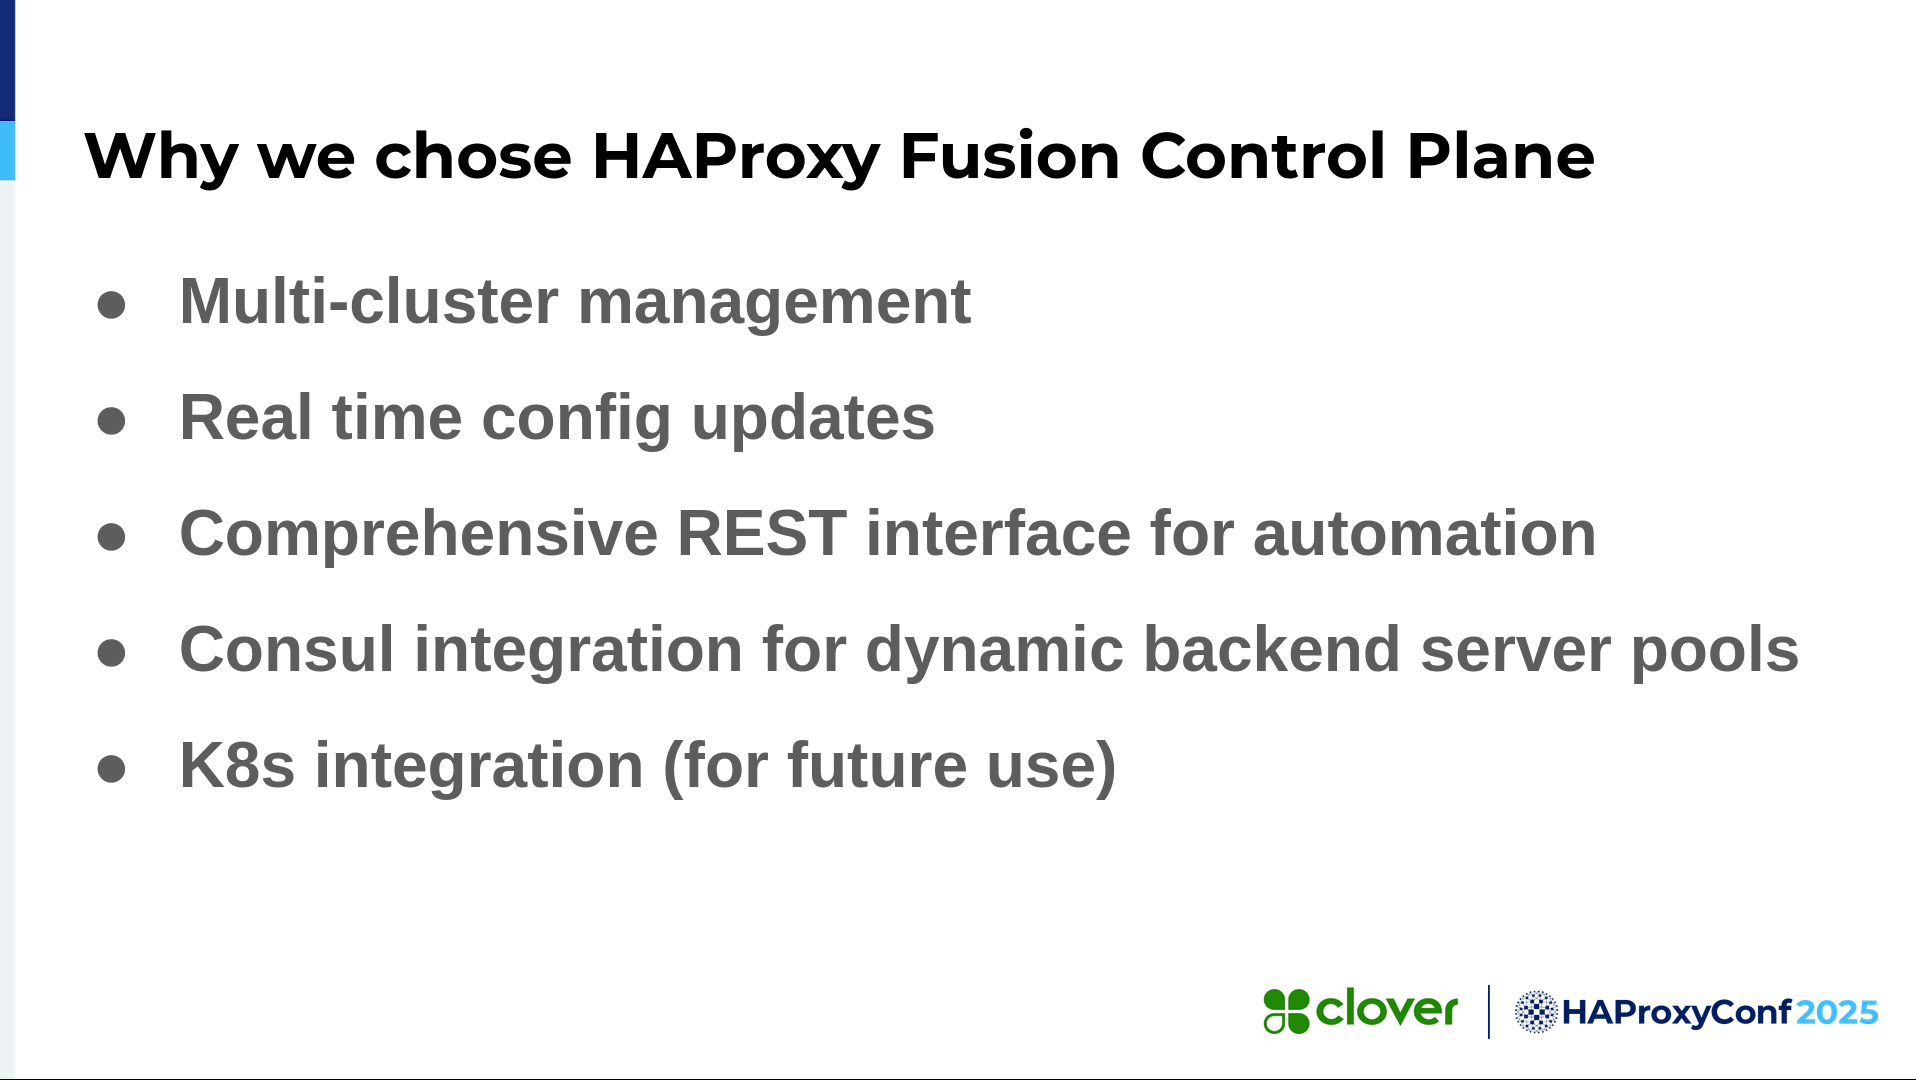
We chose HAProxy Fusion Control Plane for this. In today's keynote, it was explained beautifully what HAProxy Fusion Control Plane can do. It supports multi-cluster management for not just north-to-south traffic, but also east-to-west. It gives us real-time configuration updates. It has a REST API interface, which will be instrumental for us going forward because we want to automate the process instead of manually changing the configurations. We want to codify that for our developers.
It also provides Consul integration for dynamic backend server pools. Kubernetes integration is for our future use because we use Kubernetes for our microservices.

Let's look at the architecture diagram.
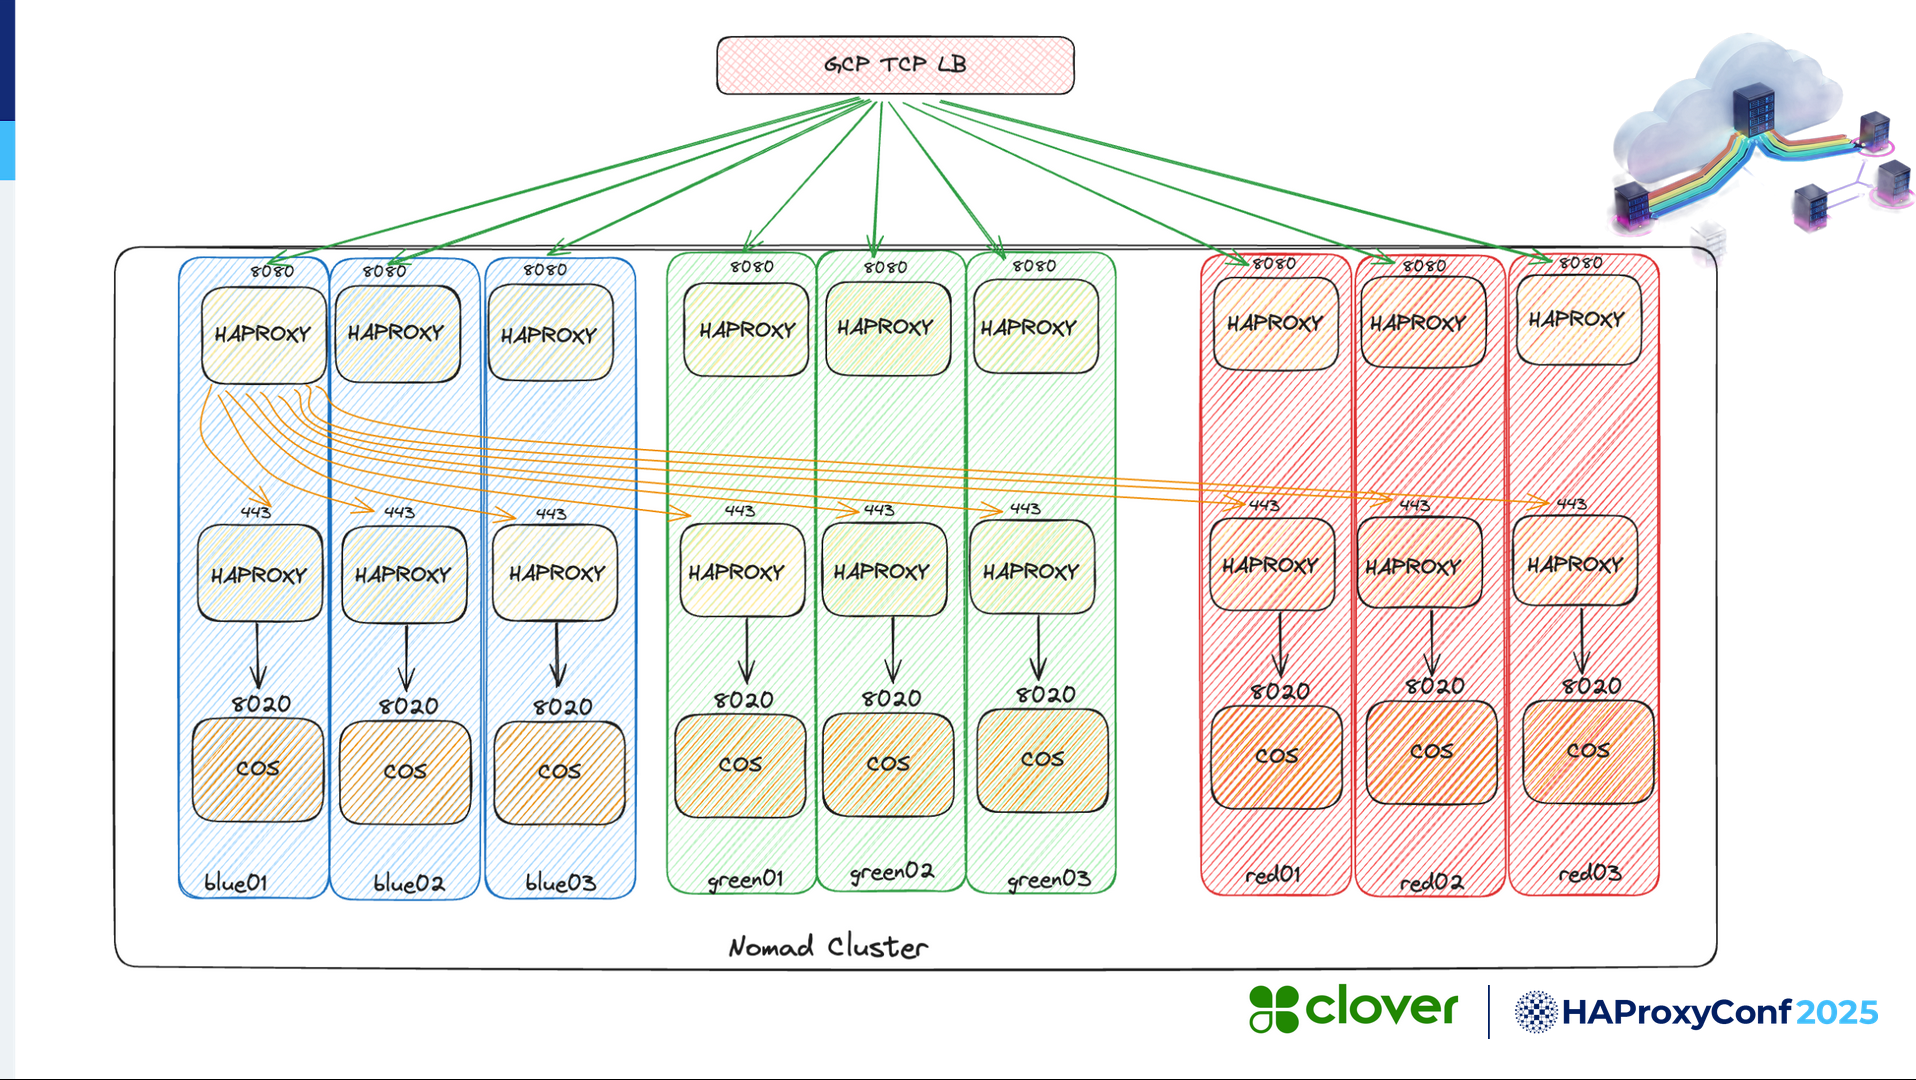
We have a TCP load balancer that takes traffic from the outside world. Then we have our Nomad cluster, which is blue, green, and red. So there are three versions of our "COS" monolith running, and on each of them, we're running a single HAProxy instance with two different frontends. The idea is to receive traffic via the Google Cloud Platform TCP load balancer and then relay it to HAProxy on the 8080 port.
The arrows show that traffic could go anywhere, but HAProxy talks over localhost to our monolith application based on the weight we've defined. Ani will discuss this extensively in the video, so I'll skip over this part for now.
We're ready for the demonstration. I'll let Ani take over from here.
Anirudh Ramesh
Let's quickly go over the Nomad platform and the application running on top of it. We've divided the Nomad cluster into three groups: three blue Nomad nodes, three green Nomad nodes, and three red Nomad nodes.
In the job view, we have the same "COS" application that Dilpreet mentioned, with three different colors and three instances of each. So we have three red, three green, and three blue. Putting them together in the cluster topological view, we're going to run the "COS" blue jobs on the three Nomad blue clients, "COS" green jobs on the three Nomad green clients, and "COS" red jobs on the three Nomad red clients. We'll have three different versions running across the three different colors.
In the HAProxy Fusion Control Plane, we currently don't have any clusters. We have just the default cluster. There's nothing in the drop-down there. We also don't have any providers configured in the service discovery section. So the first step is to create a new cluster, which we will do by running a one-time job on Nomad. We call it the FCP Bootstrap, Fusion Control Plane Bootstrap. It's a custom-built container image, which is nothing but a Python script that fires off a bunch of REST APIs against the HAProxy Fusion Control Plane server.
Among the other configuration settings, the important ones to note are the config file, which contains the HAProxy Fusion Control Plane connection details such as the endpoint, the authentication details, and the HAProxy Enterprise license key, because we use the enterprise version. In addition, we provide some of the cluster details like the name, the fact that we want to store the generated bootstrap key in HashiCorp Vault, and the Vault path.
The important piece here is the integration of the service discovery with Consul. We will want that, so we provide the Consul details and the token. And importantly, we provide HAProxy Fusion Control Plane with the template it uses to generate backends dynamically. You can also see that we want several backend directives in our dynamically generated backend. Also note the suffix for the name, which HAProxy Fusion uses to name the backend. Lastly, we will look at the individual server lines that we see in the backends. We want to have all those directives.
Let's run this one-time job on Nomad.
The cluster is now configured, and the job is done. Now that it's complete, we can switch back to HAProxy Fusion Control Plane. If we refresh the page now, we'll see that we have the new cluster called nomad-dev1, and in the cluster dropdown, we see the same.
Let's take a quick peek at the nomad-dev1 cluster configuration. We can see that the HAProxy Enterprise license has been added, and the cluster's version is set to 2.8. In the membership section, we can see the generated bootstrap key, which will be pushed into Vault.
Let's switch to the nomad-dev1 cluster and go to the Service Discovery tab. Now we see that we have a consul-fcp provider of type consul. In the Resources section, we see that we have three backend resources, one for each color. Note that we don't have any nodes configured there yet. Inside these resources, we have the basic details like the name, the transformer type, the backend, and the prefix blue-sm, which will be combined with the suffix that we saw earlier to name the backend. This is the same resource template that we fed into the bootstrapper, which appears here, and this will be used to create the backend.
But the most important aspect among all of these configuration settings is the node filter tags. We gave the node filter tag blue in this case. HAProxy Fusion Control Plane will use this tag to filter out the Nomad nodes within Consul and populate the backends. Similarly, for green, we have the green node tag, and for red, we have the red node tag.
In addition to this part of the configuration, the bootstrapper also pushed a bunch of static files, which we'll link to in the final HAProxy configuration files. These were files such as the .http files, the TLS cert, the map file, and the Lua script. Among all of these, the most important one is weighted_backends.map. This ties back to what Dilpreet was explaining on how we will do the weighted backend routing. In here, we provide a range of numbers. We'll generate a random number and select the appropriate backend for routing the traffic based on where it falls in this range.
Lastly, we don't see any nodes in the infrastructure list yet in the tab section. That's because we aren't running any load balancer. So that's our next step. We're going to run the load balancer HAProxy containers on Nomad. To do that, we have another job that we'll run called "haproxy-managed". This is of type system, meaning we will run it on all the Nomad clients that satisfy a specific constraint. In this case, we want to run it on node classes whose values are either red, green, or blue. That's going to be pretty much all of our nine Nomad clients.
We'll use the official HAProxy Enterprise 2.8 container image. To pull that, we give the registry authentication details, which will be the license key. We fetch that from Vault, as well as the bootstrap key. But the single most important block here is the service block, where Nomad instructs Consul to create a service entry called "haproxy-managed" and tag it with the value of the node class, which will be red, green, or blue.
Let's run this. Also, notice that the port "sidecar" is mapped to 443 on the host network. So we're going to run this, and momentarily, all nine instances of the HAProxy Enterprise load balancer will come up.
We make sure all of them are in the running state, and then we see the nine allocations.
If you switch to the Consul view, we have the "haproxy-managed" service in the Services section with the blue, green, and red tags available. Notice that we have blue tags on the right-hand side for all of the Nomad blue clients. Also, notice the IP and port being 443. That's what HAProxy Fusion Control Plane will use to populate the backends. Similarly, we have the green tags for green clients, and we have the red tags for the red Nomad clients.
In the nodes list, we have auto-registered the nine Nomad clients, which is super cool. In the Service Discovery tab, if we go back here and look at the resources, we see that we have three nodes now—three nodes each for each of the three resources. In the generated view, if we sort the addresses, we'll see that the same IP addresses appear for each of the individual nine clients and the associated port, which is 443 in our case. So we have the building blocks here.
Let's go over to the config section and discover that we have the backends dynamically generated by HAProxy Fusion Control Plane. Also, notice the names, which are a combination of the prefix and suffix that we gave. In addition to that, please note that we have the same directives we provided to the resource template. In the server list, three of them are the three Nomad blue client IPs along with port 443, and all the rest of these server lines are redundant localhost server lines, which will be replaced if we scale up the Nomad clients. This will be the same concept for the remaining two backends as well.
With all of these so far, it's time to bring in the Clover-specific frontends and backends. But before we do that, let's grab the map file. We'll place it in a new tab for reference because we will go back to the map file to look at how weighted routing works. If we go back to the main configuration, we'll remove the global and the defaults sections and bring in the Clover custom configurations here. But notice that we haven't touched the generated backends: the blue, the green, and the reds. We're going to keep them as is.
We brought in a lot of frontends and backends. Most of those are for the service mesh functionality, which are all egress from the application. However, the two most important frontends are the "lb-haproxy" frontend and the "local-cos" frontend. The "lb-haproxy" frontend binds on any IP and listens on port 8080, which if you go back to the diagram, it's at the very top here. It's load balanced by the GCP TCP load balancer across all nine clients on port 8080. In the GCP load balancer view, we see that the load balancer is receiving on 8080, and it has all nine clients listed, but none of them are healthy. That's because we haven't submitted our configuration yet.
When the request arrives at one of the nine HAProxy Enterprise instances on port 8080, HAProxy Enterprise needs to decide which backend to pick. It does so by generating a random number between 1 to 100 and looks for that number in the map file. Depending on which range it falls into, the corresponding backend will be selected. So let's assume it's between 34 to 67 and based on our assumption, the blue backend is going to be selected for routing from the "lb-haproxy" to the backend.
The use_backend directive sends over the request to this backend. And in that backend, among all the server lines, we know that we have the three valid IP addresses for Nomad clients, and the request on one of those Nomad blue clients is going to arrive at port 443. That is going to be the final node destination.
Reiterating the same thing, the request arrives on one of the 8080 frontends across any of the nine clients, but then based on our assumption, it arrives at one of the three HAProxy 443 frontends on the blue client.
From here on, the "local-cos" frontend would have just received the traffic on one of the three blue clients. So we'll look at that "local-cos" frontend. In here, it's listening on 443, and here is where we are going to do the SSL termination. Notice that the "lb-haproxy" frontend was a pass-through frontend, so it didn't touch any of the SSL pieces here. It just came in still encrypted, and at "local-cos" we're going to present the server-side cert, decrypt the traffic, and the decrypted request then arrives at the "local-cos" backend.
The "local-cos" backend listens at localhost, and HAProxy Enterprise just sends the request to port 8020, which is where our "cos" application is listening locally. So that's the lower part of the diagram, where the request from the port 443 frontend arrives at the port 8020 "cos" application.
Back in the configuration view, all the remaining backends and frontends help with providing "cos" with a service mesh functionality. All of those are egress from the "cos" application. If "cos" were to talk to an application called "hierarchy", which is running in Kubernetes, it does so by making a request to localhost on port 18118. This works because both "cos" and HAProxy Enterprise run on the same Docker host. All of those ports are unique to the frontends and unique to the applications indirectly.
HAProxy Enterprise receives the request on port 18118 and forwards the request to the default backend in this case, which is going to be the Kubernetes Istio ingress service mesh hierarchy. In here, it has the details to forward it, which is nothing but an Istio ingress URL, and Istio then takes care of routing it internally within Kubernetes.
So with all of this, let's submit the configuration. Once we submit it and once it looks good on the HAProxy Fusion Control Plane, it's going to push these configurations to all the nine HAProxy Enterprise load balancers running on Nomad. It's looking good. If we switch back to the load balancer view on Google, now we see all of them are reporting healthy. That's because the HAProxy Enterprise load balancers are actively listening on port 8080.
Let's tie this all together with the weight-based routing. We see here that we have an equal three-way split of traffic between the three colors. In theory, if you were to make multiple requests to the load balancer on a specific endpoint, we should sort of see the rotation of requests being served by three different colors.
We have the "cos" view in gsha as a very simple endpoint. We'll make that request against the client load balancer on port 8080 and we expect to see the git commit ID version change. Right now, we're seeing 10d7, which corresponds to the git version running on the "cos" red job, which is the 10d7 version. If you go back here and do a refresh, we're going to see that the version changes to 976, which corresponds to the "cos" green version, as we can see in the "cos" commit hash here.
And lastly, if we do another reload, we'll see that the server commit ID version has changed to 422a, which corresponds to "cos" blue. In this manner, we can potentially skew the numbers in favor of one or two of the backends to send the traffic accordingly. This can be extended to pin specific customers by either placing the customer IDs, or if that's too much we can do customer groups and place the customer groups here and route them to specific backends.
Dilpreet Singh
Thanks, Ani.
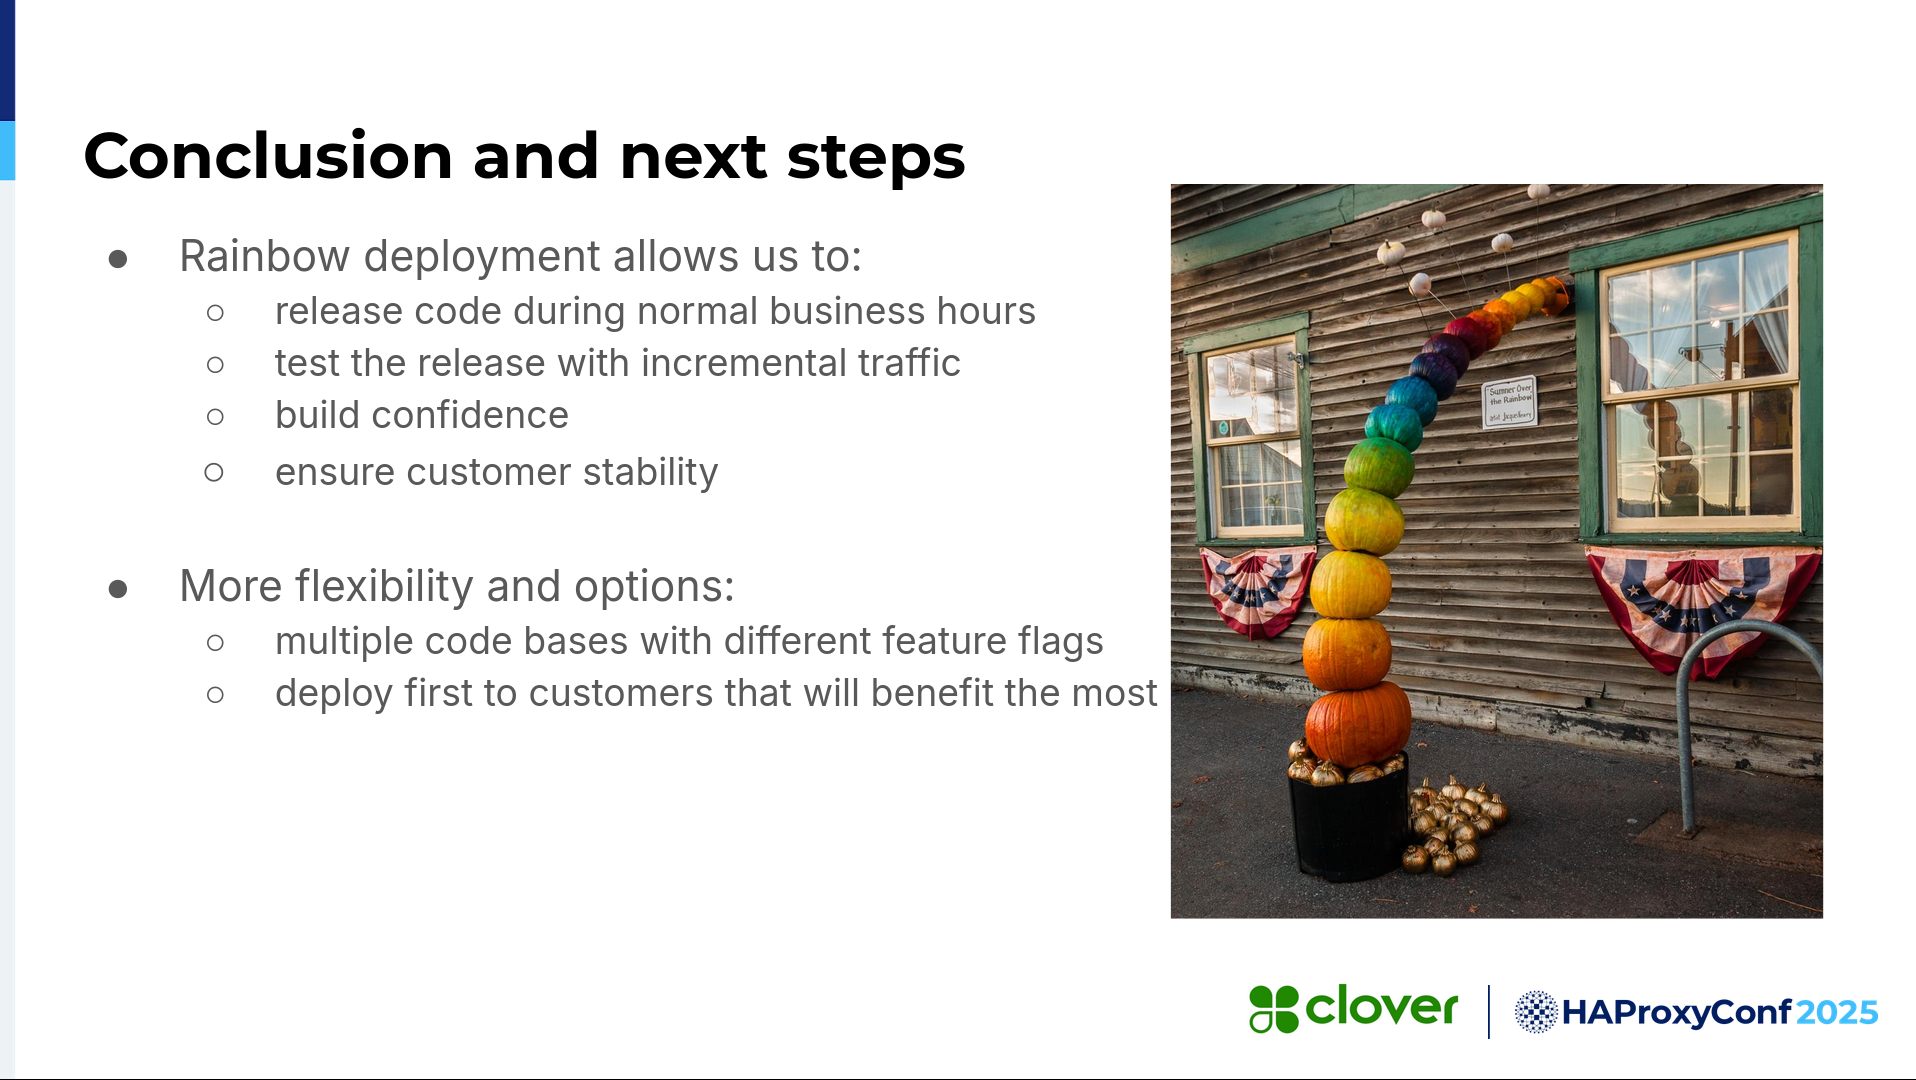
Okay, so the conclusion and the next steps for what we're doing here with rainbow deployments: as I mentioned earlier, it allows us to ensure customer stability. It also allows us to release code during normal business hours because, you can imagine a monolith, releasing it in the middle of the day and not having the capability of rollback, can be very hurtful for the organization. We can also release and test the release with incremental traffic to give us more confidence. It also gives us more flexibility and options for multiple codebases with different feature flags deployed to the customers who especially want a specific feature, instead of rolling it out to everyone.
The next steps: we're trying to achieve the future automation of our interactions with the HAProxy Fusion Control Plane. As you guys saw in the demo video, the map file and config changes were manually posted. All that we can automate so that we don't have to go and see the HAProxy Fusion Control Plane's user interface, and all of the developers don't need to know where exactly to go to change the map files and stuff like that, that's our goal.
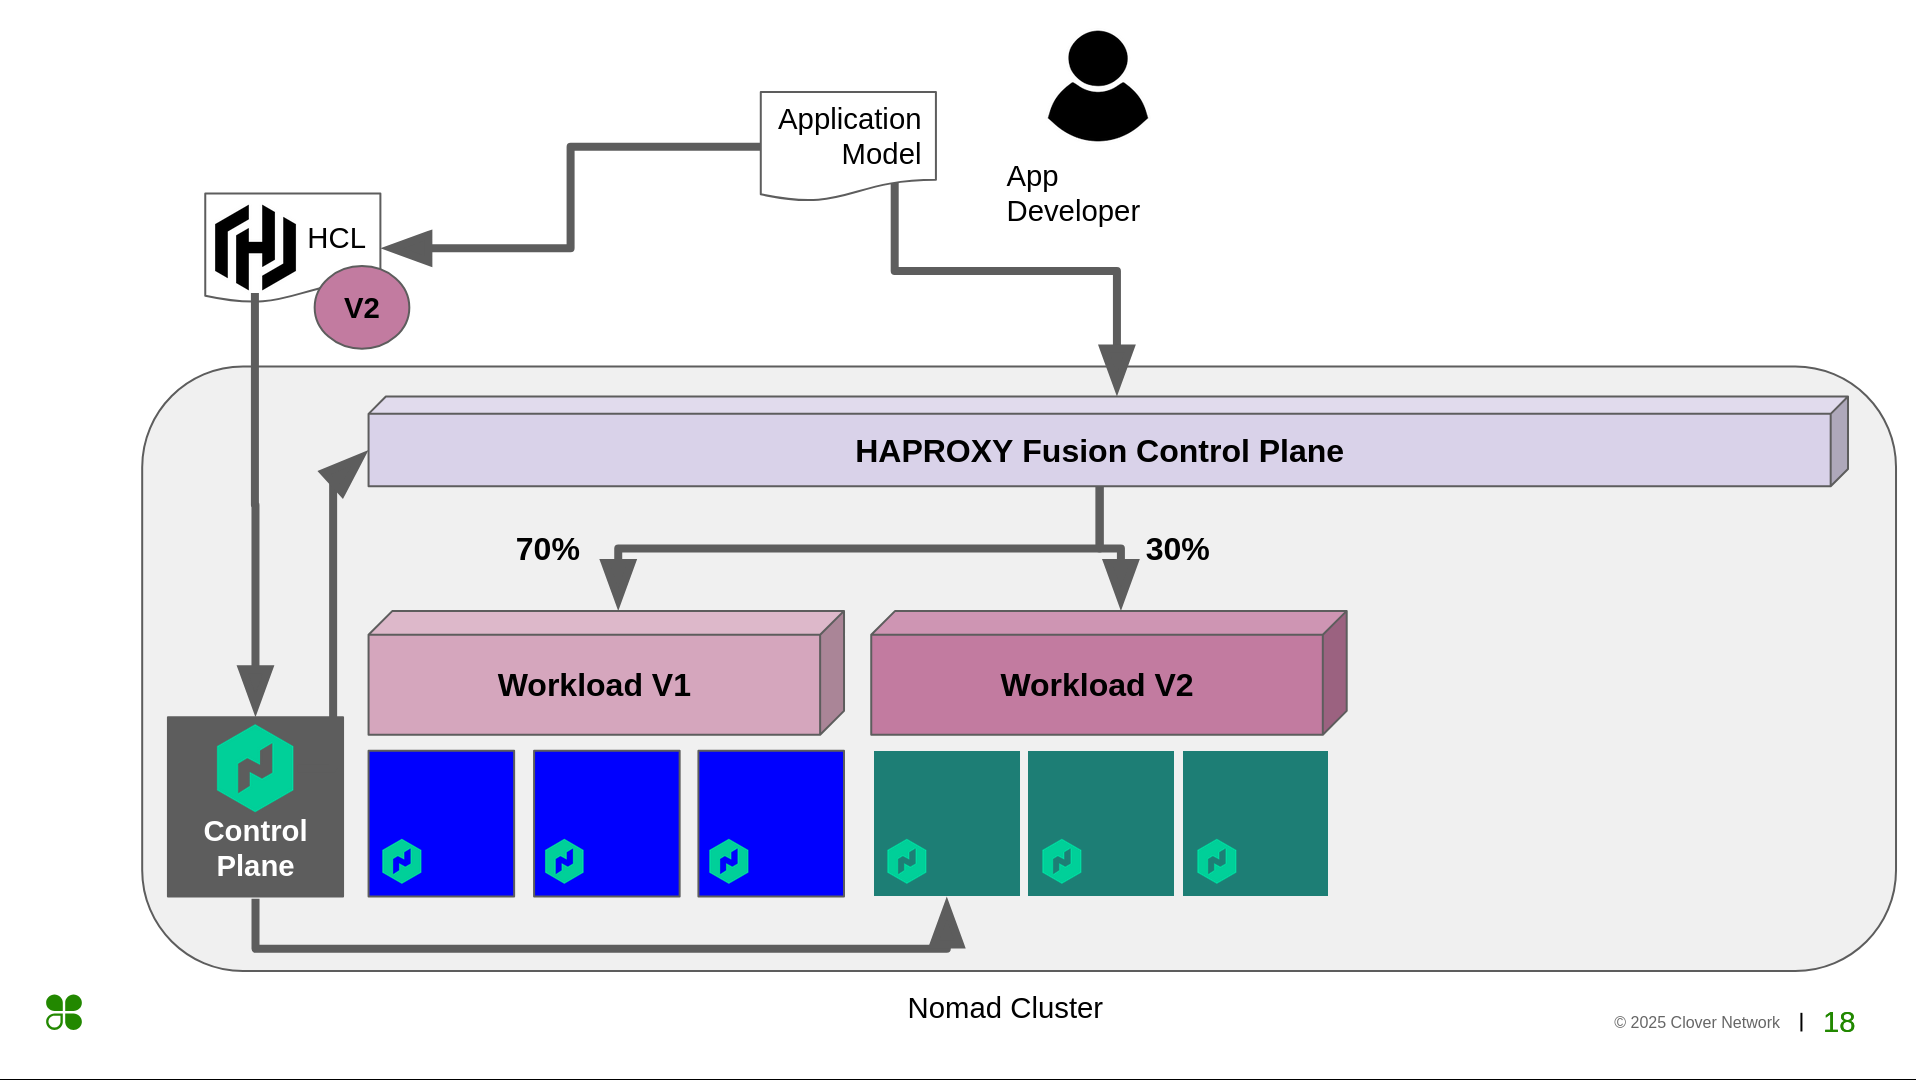
Also, we want to design a consistent application model for all of this. You saw that Anirudh was posting Nomad jobs on the Nomad UI. We want to design an application model where the application teams don't need to worry about where we will deploy. It can be Kubernetes, Nomad, a cloud function, whatever. And they don't need to worry about what we will do as the platform team to deploy it.

This is a small diagram of what we just saw. At the top of it, we have an application model. Previously, you saw Ani using the HCL format, deploying the Nomad jobs, and also playing with the HAProxy Fusion Control Plane. But in the future, if we have an application model, that would be the source of truth from where everything would be driven, and the application teams wouldn't have to worry about what we're going to do behind the scenes to deploy the applications.
Q&A
Audience
Hello. I do have one question. I was wondering why you're using a random number to route the traffic from port 8080 to the blue, red, green nodes. Why not use consistent hashing so that the traffic is even on the blue, red, and green?
Anirudh Ramesh
That's one possibility, too. It's just a way of picking one of the three by giving them the random number, the benefit of randomness between the three. So assuming that the random number is truly random or close to being random, we are going to fall in one of the three categories. So that sort of ensures that we have weights according to the numbers that we provided over there. But maybe hashing is an option, too.
Audience
Which of the REST APIs are you using for managing HAProxy Fusion, and are there any that you're investigating for the future?
Anirudh Ramesh
So HAProxy Fusion Control Plane exposes Swagger. If you look at the Swagger, we have tons of REST APIs for configuring the cluster, for adding frontends, backends, even the console integration. Everything is driven by REST API.